How to Make a Vintage Globe Lamp
Making a DIY globe lamp is a fun and inexpensive way to up-cycle a vintage world globe into a hanging pendant or a table lamp.
Materials Needed
• Old plastic world globe (thrifted or from a second-hand store)
• Pendant light kit or a small lamp cord kit with a socket
• LED light bulb (crucial: use LED so it stays cool and won’t melt the plastic globe)
• Dremel cutting tool or a sharp craft/box knife
• Fine drill bit (1/16″) (optional, for punching starry constellation/city holes)
• Sandpaper to smooth out rough cut edges
• Bowl to stabilise the globe while you work
.
Step-by-Step Instructions (Pendant Style)
First and most importantly – make sure to wear safety glasses if you are using a rotary tool.
• Remove the Globe from its Stand
• Unscrew or pop the globe out of its metal or plastic arc stand using a screwdriver. Clean off any dust or sticker residue.
• Rest the globe inside a large bowl so it doesn’t roll around on your workspace.
• Use a marker to draw a cutting line around the top (near the Arctic Circle) and the bottom (around a southern latitude line, removing Antarctica or trimming the base).
• Use your Dremel tool or a sharp craft knife to carefully slice along your marked lines.
• Take a piece of fine-grit sandpaper and smooth down any jagged or sharp plastic edges around your top and bottom holes.
• If you want light to poke through specific cities or outline the continents, take a fine drill bit (1/16″) and drill small holes through your favorite locations on the map.
• Feed your pendant light cord through the top opening of the globe and pull it down through the center.
• Screw a low-heat LED bulb into the socket.
• Hang your new upcycled pendant lamp from the ceiling or a swag hook.
.
Our globe lamp in our studio!
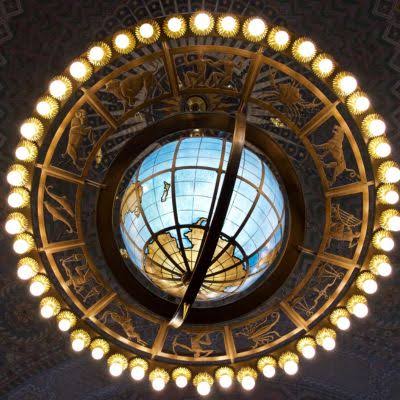
And classy inspiration in the LA Public Library